Tools
- Eclipse IDE — http://eclipse.org/
- BlueJ — http://bluej.org/
- JCreator LE version – http://jcreator.com/ (Another IDE aimed at students)
- NetBeans IDE Source Editor — http://www.netbeans.org/
- IntelliJ Idea–( recommended for beginners)–http://www.jetbrains.com/idea/
Even though a normal Text Editor can be used and compiled,it is best if use an IDE (Integrated Development Environment) .So we are going to use IntelliJ Idea.You can go ahead and download .
- JDK-Java Development Kit
Download the JDK here
The Java Development Kit (JDK) is one of three core technology packages used in Java programming, along with the JVM (Java Virtual Machine) and the JRE (Java Runtime Environment). It’s important to differentiate between these three technologies, as well as understanding how they’re connected:
- The JVM is the Java platform component that executes programs.
- The JRE is the on-disk part of Java that creates the JVM.
- The JDK allows developers to create Java programs that can be executed and run by the JVM and JRE.
Developers new to Java often confuse the Java Development Kit and the Java Runtime Environment. The distinction is that the JDK is a package of tools for developing Java-based software, whereas the JRE is a package of tools for running Java code.
The JRE can be used as a standalone component to simply run Java programs, but it’s also part of the JDK. The JDK requires a JRE because running Java programs is part of developing them.

Figure 1 shows how the JDK fits into the Java application development lifecycle.
Installing the JDK
When you run the JDK installer, you are offered a selection of three components: Development Tools, Source Code, and Public JRE. You may install one or all of them. In this case, just select the default.
Installing the “Development Tools” option gives you the JDK proper. Installing “Source Code” contains the sources for the public classes in the core Java API. Including this option allows you to reference the source code when building apps. The third option, “Public JRE,” drives home that the JDK and JRE are separate entities: the public JRE can be used by other programs to execute Java programs, and can be installed separately from the JDK.
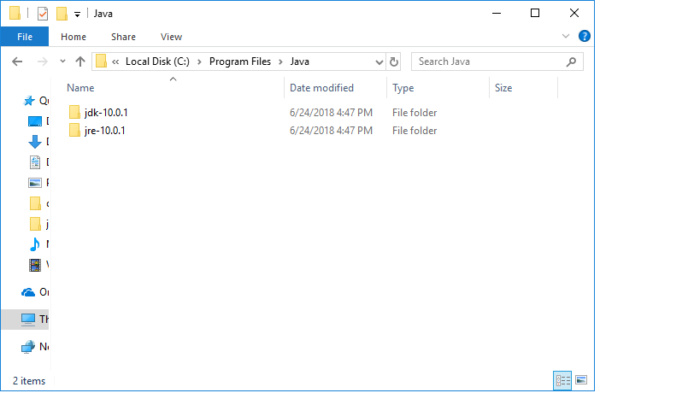
Go ahead and install all three components and accept the defaults for each one. Doing this means your JDK and JRE will be installed in the default locations for your operating system. On Windows, that’s C:\Program Files\Java, as seen in the screenshot below.
The JDK on the command line
Installing the JDK and JRE adds the java command to your command line. You can verify this by dropping into a command shell and typing java -version, which should return the Java version you installed. (In some cases you’ll have to restart your system for this change to your system path to fully take.)
It’s good to have java installed, but what about javac? You’ll need this JDK element to compile your Java files.
The javac command
The javac command lives inside the /jdk directory, but is not automatically added to the system path during installation. We have the option to install javac ourselves, or we could install an IDE that includes this command. We’ll start by compiling and running a Java program the old-fashioned way.
- Eclipse IDE — http://eclipse.org/
- BlueJ — http://bluej.org/ (Particularly aimed at students!)
- JCreator LE version – http://jcreator.com/ (Another IDE aimed at students)
- NetBeans IDE Source Editor — http://www.netbeans.org/
- IntelliJ Idea–( recommended for beginners)–http://www.jetbrains.com/idea/
